Table of Contents
Some features may not be available due to your User Type configuration. Please contact us for questions or issues.
Where to Start
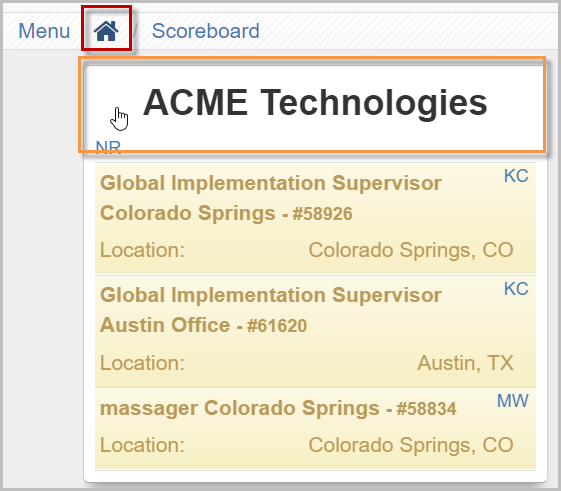
In order to create a new user, you must be in your Company Snapshot.
- Click the Home (blue house) button in the top-left corner of the screen, then select your Company
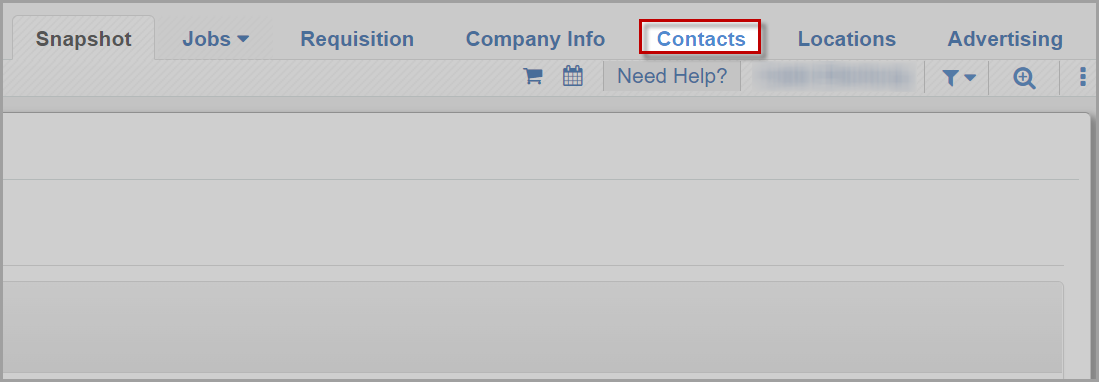
- In the top-right of the screen, select the Contacts tab
Create a New Contact
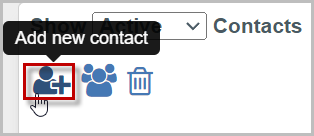
Before creating a new user, you must create a contact. A contact acts similar to a user, without the user permissions and roles associated with a user account.
- Click the Blue Add New Contact button on the left side of the screen
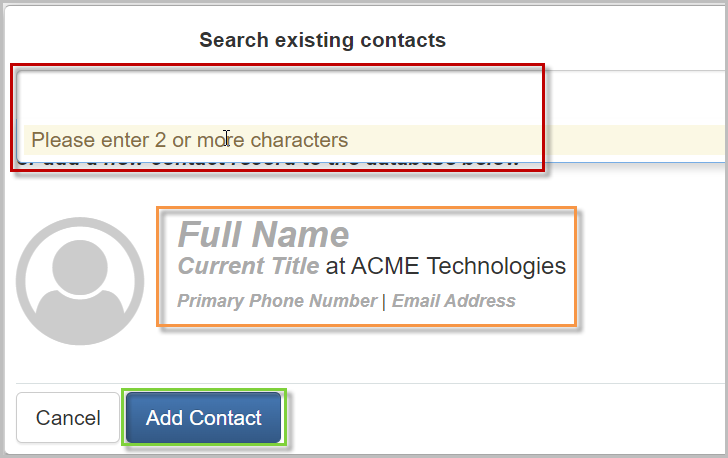
- If you believe your contact already exists, you can search at the top of the page
- Click the text to enter the following information for your new contact
- Full Name - Name of your contact
- Current Title - Contact's job title
- Primary Phone Number - Contact's phone number
- Email Address - Contact's email address
- Click Add Contact when finished
- You should now see your new contact listed under your Active Contacts
Create a New User
Once you've created your new contact, you should now be ready to create a new user. This will allow you to manage user permissions for the new user/contact.
- Click the Blue Add New User button on the left side of the screen
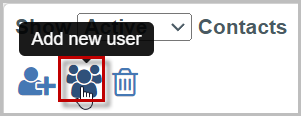
- Begin typing the email address for your new user into the text box to populate the list with your contact
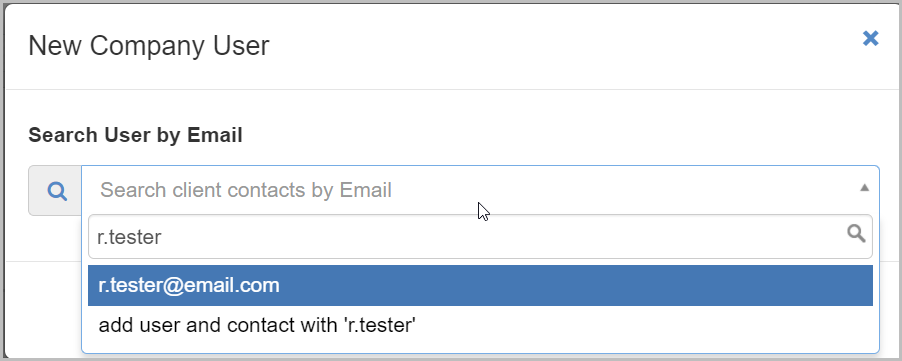
- Click on the populated email address to open the New Company User window
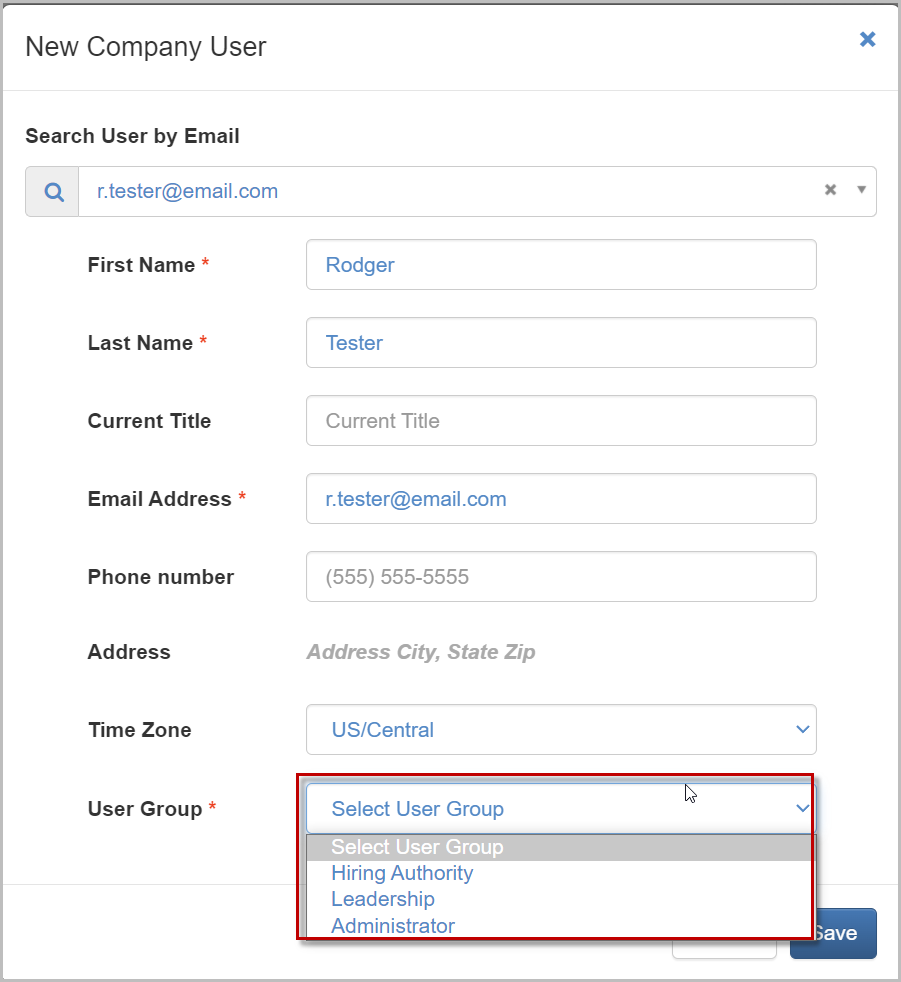
- Confirm the contact details are correct, then set the appropriate User Group for your new user
- Click Save when finished
- An invitation email will be sent to the user's entered email address. Once received, the user can follow the link in the email address to sign in and access the ATS
Edit Job Permissions
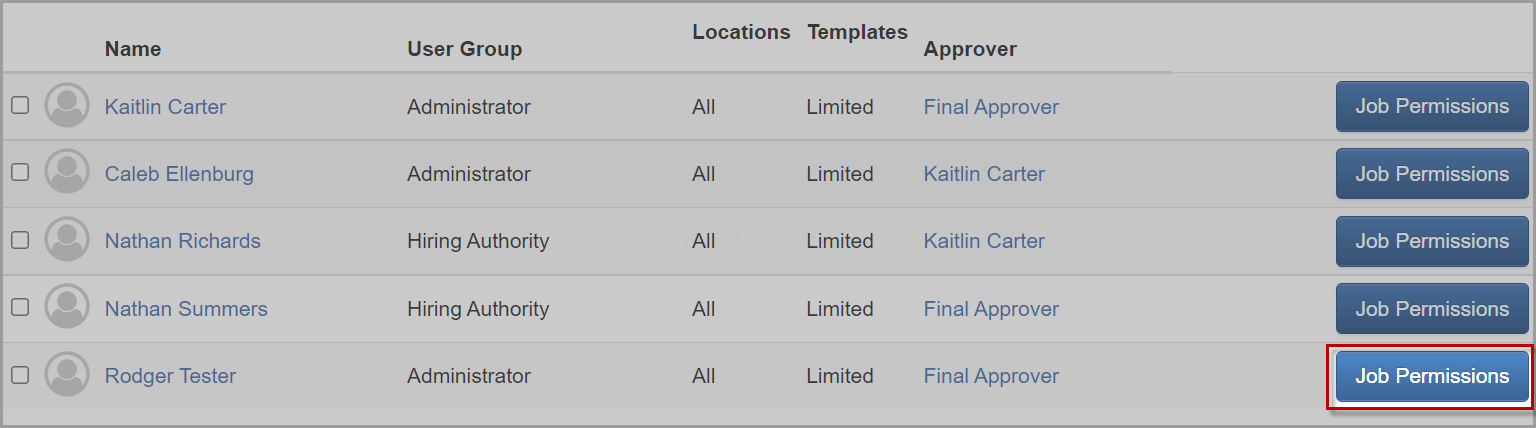
Configuring your new user's job permissions is imperative so that the new user has access to the required locations and templates assigned.
- Locate your new user from your Active Contacts list and click Job Permissions
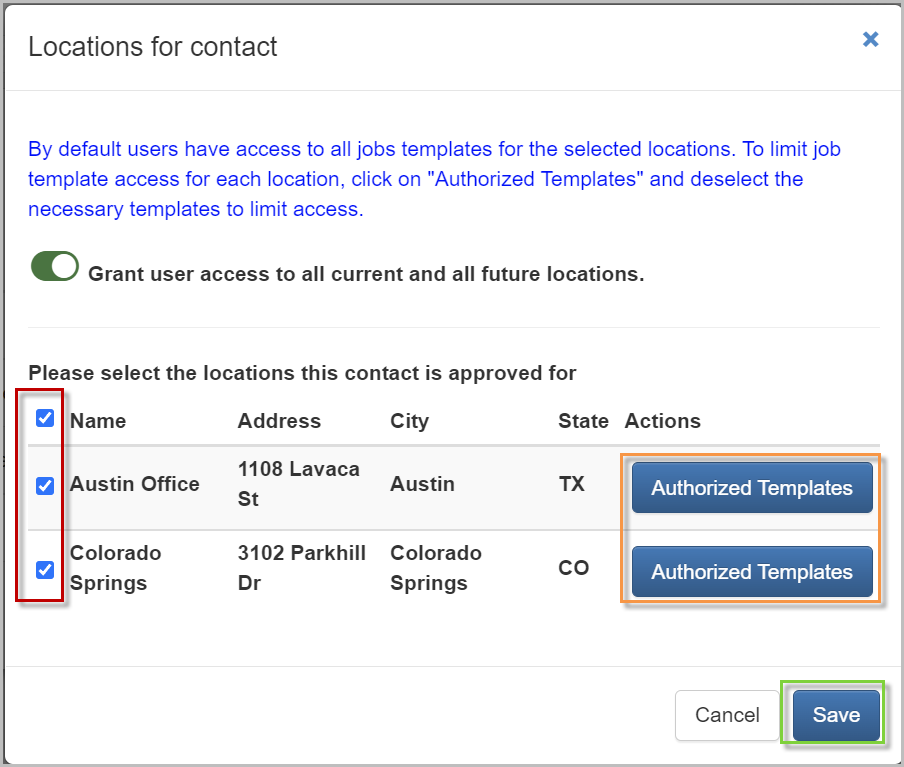
- In the pop-up window, use the check boxes to manage which location(s) the user will have access to
- Click Authorized Templates to manage the templates the user will have access to for each individual location
- Click Save when finished
For questions, comments, or issues, please contact us!