![Whitelogo-1.svg]](https://learn.talentcare.com/hubfs/Whitelogo-1.svg)
Updating a Candidate's Status
When you are ready to schedule an interview with a candidate, you will need to update the candidate's status to either Recruiter Interview or Interviewing. No matter which status is used, the options for scheduling the interview are the same.
Learn more about updating a candidate's status here: Update a Candidate's Status
Recruiter Interview
This status is used for scheduling the preliminary interview with a Recruiter. If the candidate passes this interview, the candidate can be moved on and presented to a Hiring Authority for the next steps.
Interviewing
This status is used for scheduling an interview with a candidate that has been presented to a Hiring Authority.
Schedule an Interview
As soon as the candidate's status is updated, it's time to set up the interview.
- In the pop-up window, select the Interviewer from the drop-down menu
- Edit the Event Title if needed
- Write a unique message to the candidate in regard to the interview
- Select an Interview Type
- Phone - If selected, provide instructions for who to call, phone number, etc.
- Video - If selected, enter the video call link that will be used
- In Person - If selected, provide the address for where the interview will take place
- Send invite for particular date/time - Manually schedule an interview for the date and time you'd like to choose
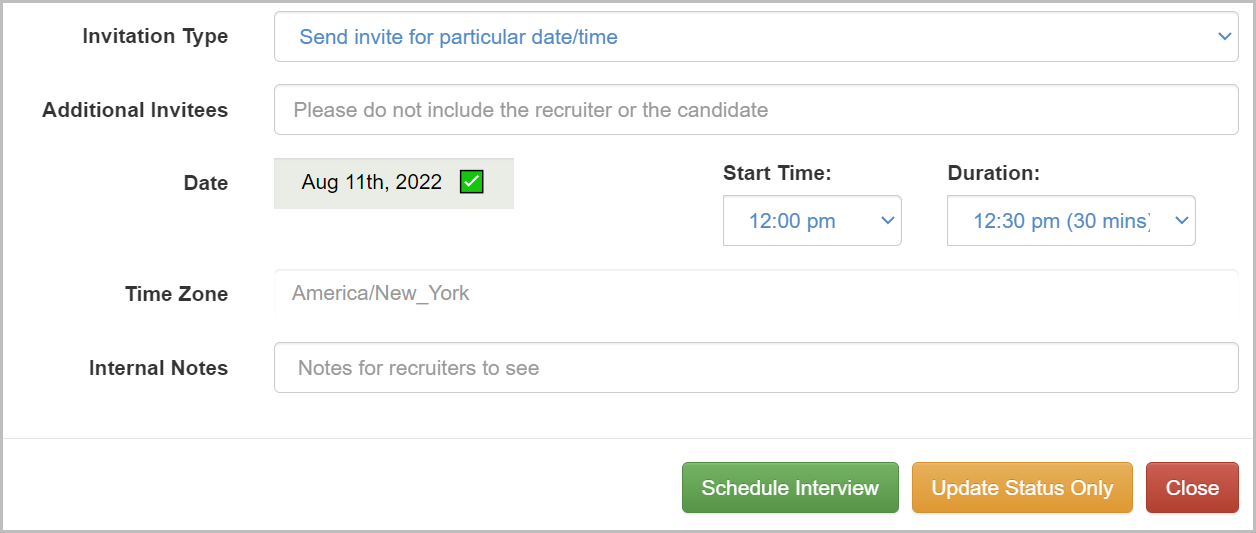
- Add any Additional Attendees for the interview
- Set the Date by clicking the Date box
- Set the Start Time and Duration of the interview
- Select a Time Zone
- Provide any additional Internal Note
- Select an Invitation Type
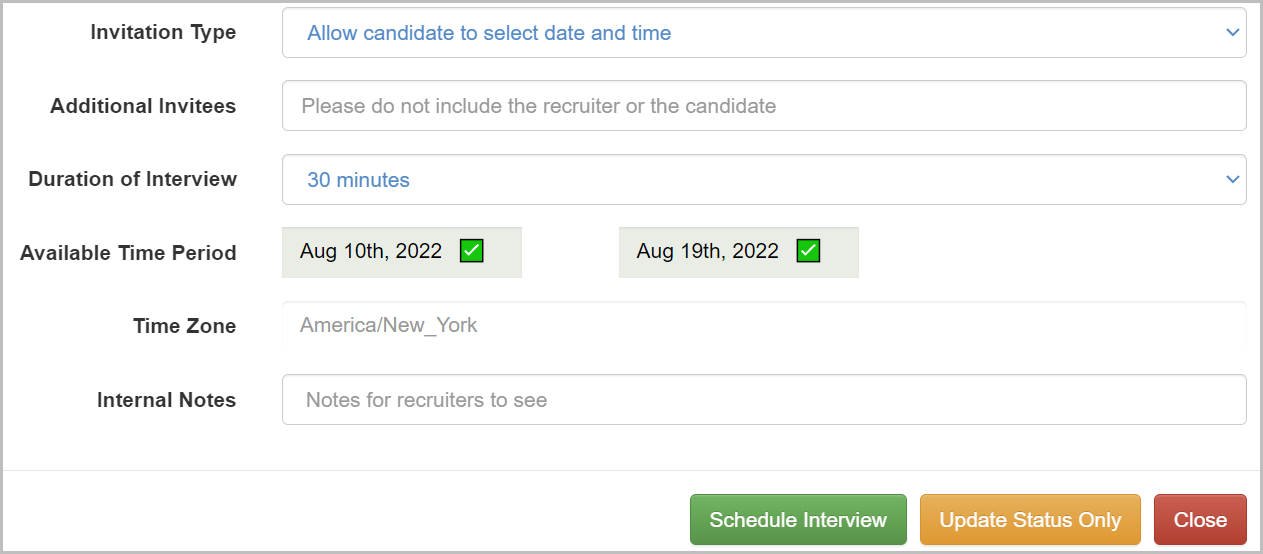
- Allow candidate to select date and time - Allow the candidate to choose a date and time from a range that you provide
All events are saved as UTC (Coordinated Universal Time) and converted to the user’s time zone in their calendar application
In order to allow candidates to select date and time, you must have the Self-scheduling feature enabled in your calendar settings! Learn more here: Manage your Calendar
-
-
- Add any Additional Attendees for the interview
- Set the Duration of the interview
- Select an Available Time Period by clicking the Date boxes and selecting a date
- Select a Time Zone
- Provide any additional Internal Notes
-
- Click Schedule Interview
- In the new pop-up window, select whether you'd like to notify the candidate via Text or Email
- Fill out the message that the candidate will receive
The candidate's Candidate Portal link will be automatically included in the body of the message!
- Click Send to send the email or SMS message to the candidate
Once the interview is scheduled or requested, the candidate will need to view the interview request in the Candidate Portal.
Rescheduling a Scheduled Interview
- Navigate to the relevant Candidate page within the correct job

2. Scroll down until you see Interview Schedule. Then, click on the green box labeled, Scheduled.

3. In the window the pops up, click the yellow button labeled Reschedule Interview.

4. Another window will open. Here you will be able to edit details of the interview you wish to schedule, including Date, Time and Interview Duration. When finished, click the green button labeled, Save.

5. Another window will open which asks you if you wish to notify the candidate of the change. Select your desired option and follow the remaining steps.
Congrats, you have successfully rescheduled a candidate interview!
Canceling a Scheduled Interview
- Navigate to the relevant Candidate page within the correct job
2. Scroll down until you see Interview Schedule. Then, click on the green box labeled, Scheduled.
3. In the window the pops up, click the red button labeled Cancel Interview.
4. Another window will open. Next to Invitation Status, click on the drop down list and select the proper reason. You may also provide additional details in the text box below. When finished, click Cancel Interview.

5. Another window will open which asks you if you wish to notify the candidate of the change. Select your desired option and follow the remaining steps.
Congrats, you have successfully cancelled a candidate interview!
Interested in how a candidate accepts or schedules an interview? Learn more here: Candidate Experience - Schedule an Interview
For questions, comments, or issues, please contact us!